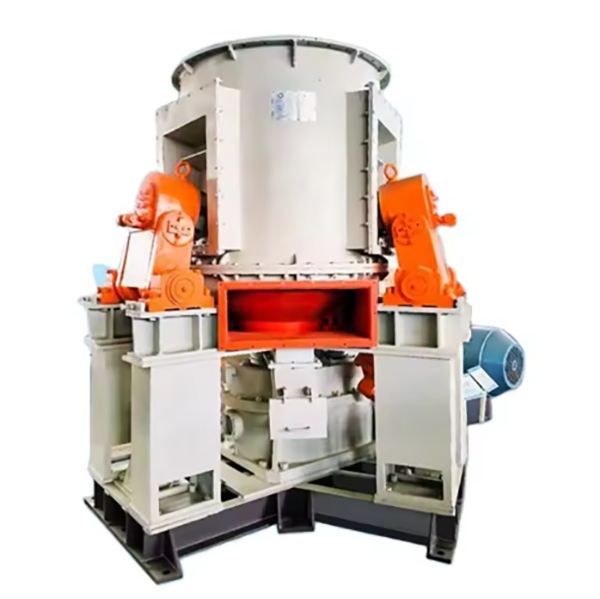
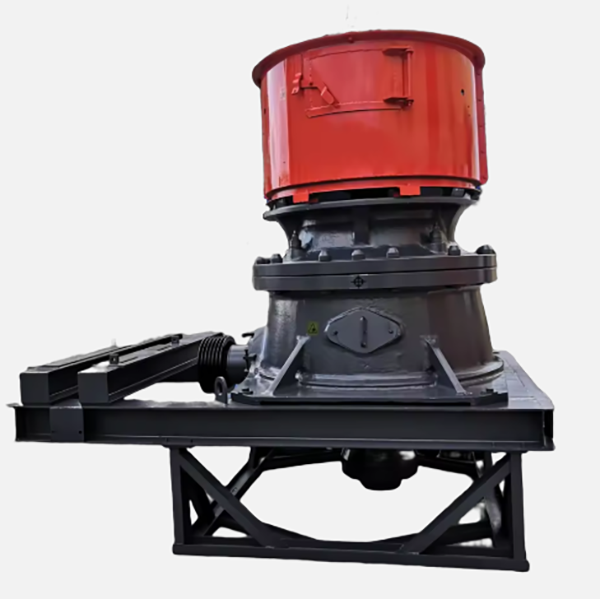
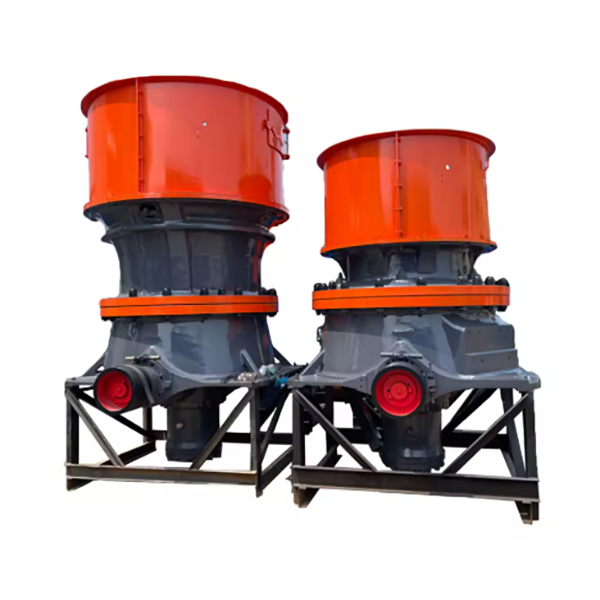
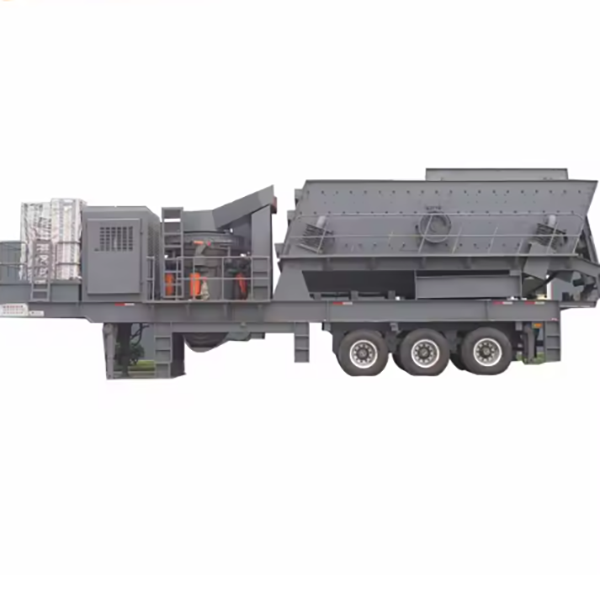
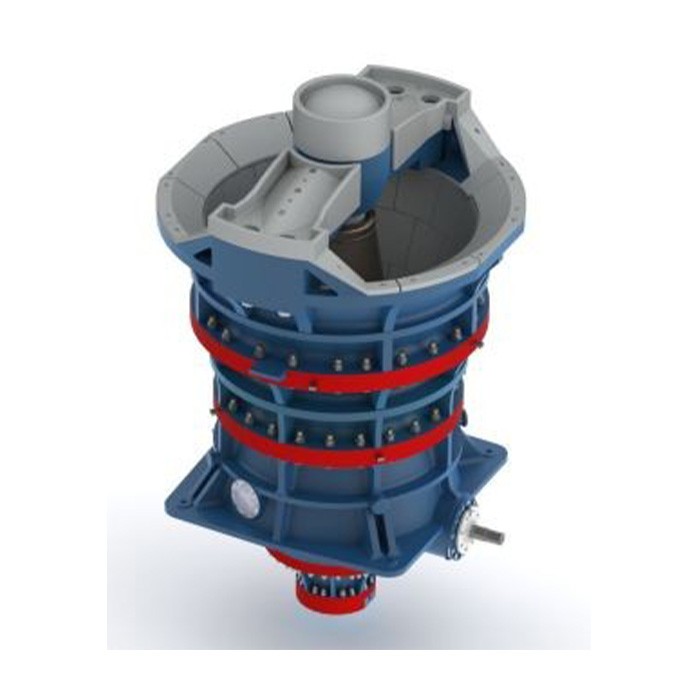
The gyratory crusher is a large-scale primary crushing equipment widely used in mining and metallurgy. It features a vertical spindle with a conical crushing head that gyrates within a fixed concave, forming a crushing cavity. Its structure includes a heavy-duty frame, a rotating main shaft, an eccentric sleeve, a crushing cone, and a fixed cone. The main shaft, driven by a motor via gears, gyrates to make the crushing cone oscillate, squeezing and breaking materials between the cone and concave. Advantages include high throughput, continuous operation, and suitability for crushing large, hard ores (up to several meters in diameter). It offers stable performance and low maintenance, making it ideal for primary crushing stages in large-scale mineral processing plants
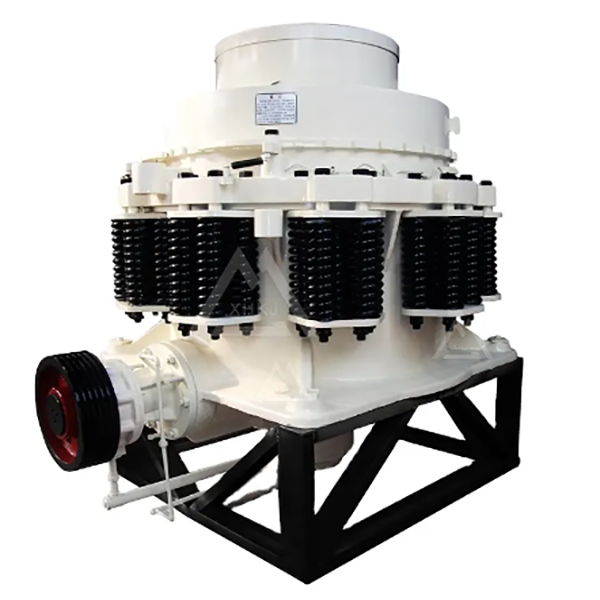
The compound cone crusher, a multi-cavity advanced crusher for medium-to-fine crushing of hard materials, integrates spring and hydraulic cone crusher advantages. Its 2–4 stage crushing cavities enable gradual material reduction via lamination crushing, ensuring uniform particle sizes with high cubicity. Structurally, it comprises key assemblies: a heavy-duty cast steel main frame (ZG270-500) supporting components; a crushing assembly with a 42CrMo forged movable cone (manganese steel/high-chromium liner) and multi-section fixed cone; a transmission system with a ZG35CrMo eccentric shaft sleeve and 20CrMnTi bevel gears; hydraulic adjustment (5–50 mm discharge port) and safety systems; plus dustproof (labyrinth seal, air purge) and lubrication setups. Manufacturing involves precision casting (frame, eccentric sleeve) and forging (movable cone, main shaft) with heat treatment, followed by CNC machining for tight tolerances. Quality control includes material testing, dimensional inspection (CMM, laser scanning), NDT (UT, MPT), and performance tests (dynamic balancing, 24-hour crushing runs). Its advantages lie in high efficiency, compact design, adjustable stages, and reliable safety, suiting mining, construction, and aggregate processing
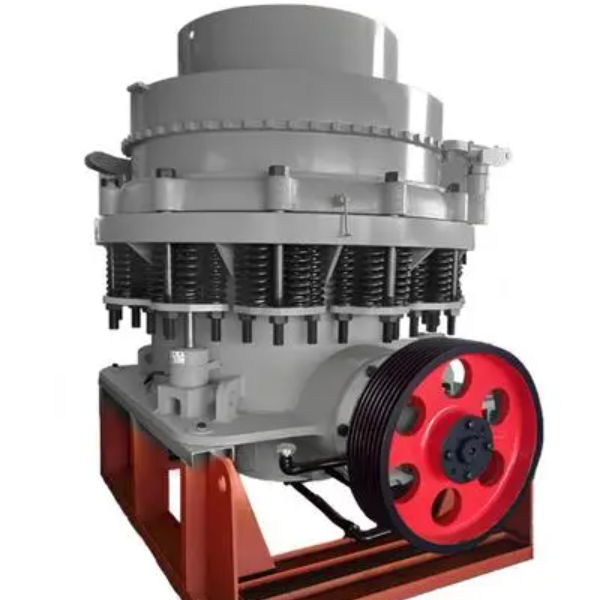
The Symons cone crusher, an upgraded replacement for PY series spring cone crushers, features a spring safety system as an over-protection device, allowing metal foreign bodies to pass through the crushing cavity without damaging the machine. It adopts dry oil sealing to isolate stone powder from lubricating oil, ensuring reliable operation, and is widely used in industries such as mining, cement production, construction, and metallurgy for crushing ores (metal, non-metal, ferrous, non-ferrous), lime, limestone, quartzite, sandstone, and pebbles. Its working mechanism comprises a crushing cone (with a manganese steel liner) and a fixed cone (adjustment ring), with zinc alloy poured between the liner and cone for tight integration. The crushing cone is press-fitted on the main shaft, whose lower end fits into the tapered hole of an eccentric shaft sleeve (with bronze or MC-6 nylon bushings). Rotation of the eccentric shaft sleeve via bevel gears drives the main shaft and crushing cone (supported by a spherical bearing) to swing, achieving ore crushing.
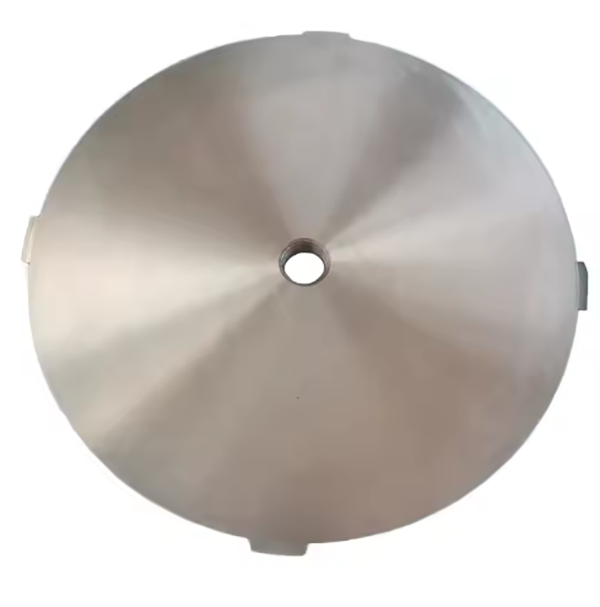
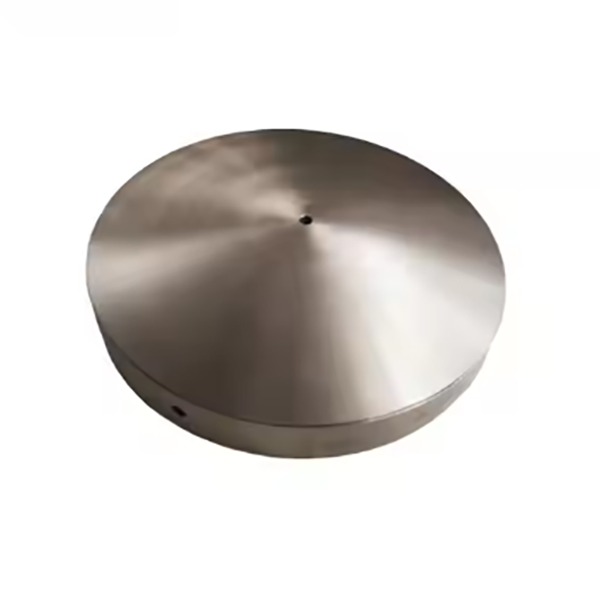
The cone crusher step plate (main shaft step plate) is a key load-bearing and structural component, primarily responsible for axial load transmission (handling several tons in medium-sized crushers), positioning/guiding the main shaft and moving cone, and providing mechanical support to reduce vibration. Structurally, it is a disc-shaped part made of high-strength alloy steel (40CrNiMoA/35CrMo) with a 30–80 mm thickness. It features a central hole (±0.05 mm tolerance) for main shaft fit, step features (10–30 mm height, 20–50 mm width) interacting with thrust bearings, and 8–24 mounting holes for high-strength bolts (grade 8.8+). Manufacturing involves: Casting: Alloy steel melting (1500–1550°C), sand mold casting, followed by normalization (850–900°C) and quenching-tempering (820–860°C quenching, 500–600°C tempering). Machining: Rough turning (2–3 mm allowance), precision grinding (Ra0.8–1.6 μm surface finish, ±0.02 mm dimensional tolerance), and drilling/tapping (±0.1 mm positional tolerance for holes). Surface treatment: Shot-blasting and anti-rust coating (80–120 μm). Quality control includes material testing (chemical composition, tensile strength ≥980 MPa for 40CrNiMoA), dimensional inspection (CMM and gauges), NDT (ultrasonic/magnetic particle testing for defects), and assembly/performance validation to ensure fit and stability
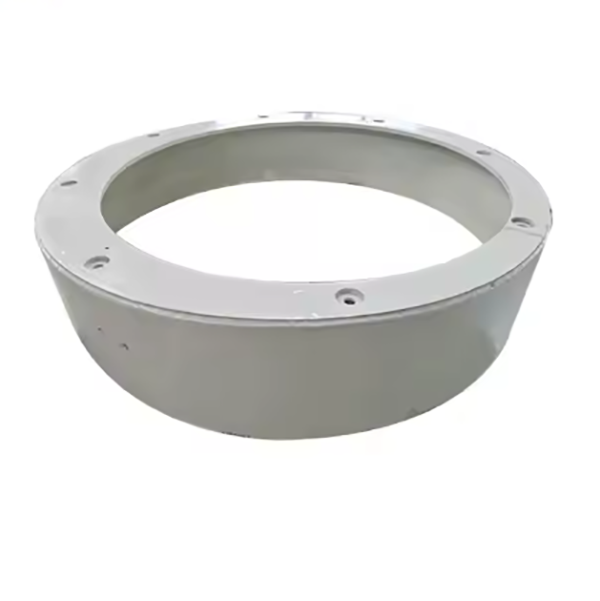
The cone crusher counterweight guard, a protective and structural component surrounding the counterweight and eccentric bushing, functions as a safety barrier against rotating parts (500–1500 rpm), blocks contaminants, reinforces stability, and reduces noise. Structurally, it consists of a 4–8 mm thick annular body (Q235/Q355B steel or HT250 cast iron), mounting flanges with bolt holes, 1–2 access doors, reinforcement ribs, ventilation slots, lifting lugs, and an 80–120 μm corrosion-resistant coating. Manufactured via steel plate welding (plasma cutting, rolling, MIG welding) or sand casting (1380–1420°C pouring) with annealing, it undergoes CNC machining for flange flatness (≤0.5 mm/m) and surface finishing. Quality control includes material testing, weld inspection (DPT), impact testing, dust tightness checks (0.1 MPa pressure), and safety validation (ISO 13857 compliance). This ensures reliable protection and durability in mining/aggregate operations
The cone crusher head ball, a critical pivot component atop the moving cone, supports axial crushing loads (tens of thousands of kN), guides eccentric rotation (5–20 mm amplitude), reduces wear, and maintains alignment between the moving cone and concave. Structurally, it features a hemispherical/spherical head (radius 50–300 mm) of GCr15/42CrMo with a 2–5 mm hardened layer (HRC 58–62), a shaft neck, transition fillet (radius 10–30 mm), and lubrication groove. Manufactured via closed-die forging (1100–1200°C) or investment casting, it undergoes quenching/tempering (core HRC 25–35) and induction hardening. Precision machining (CNC grinding) achieves Ra0.1–0.4 μm surface roughness and ≤0.01 mm spherical tolerance. Quality control includes material spectrometry, hardness testing, UT/MPT for defects, and fatigue testing (10⁶ cycles). It ensures reliable performance in mining/aggregate processing with compressive strength ≥2000 MPa and minimal wear (≤0.1 mg loss/10⁴ cycles).