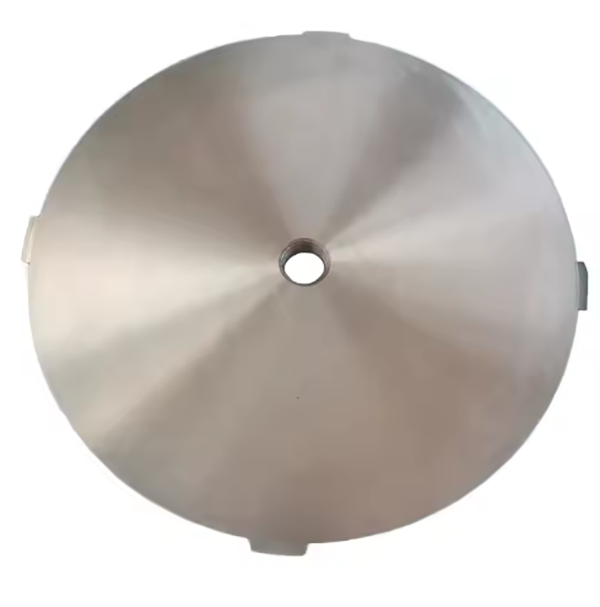
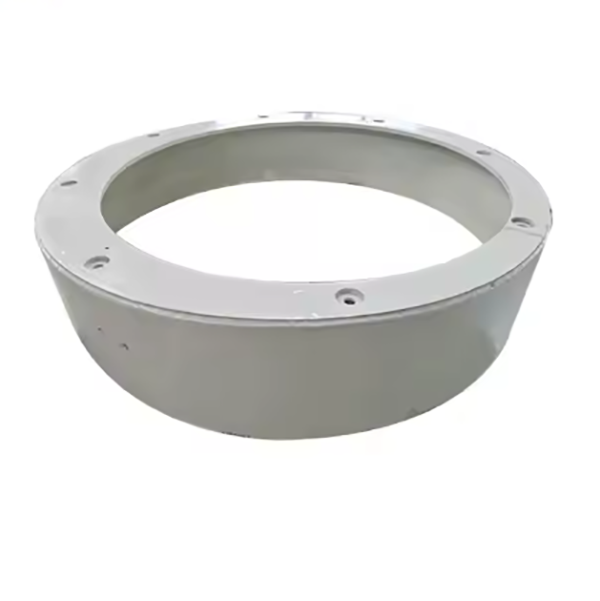
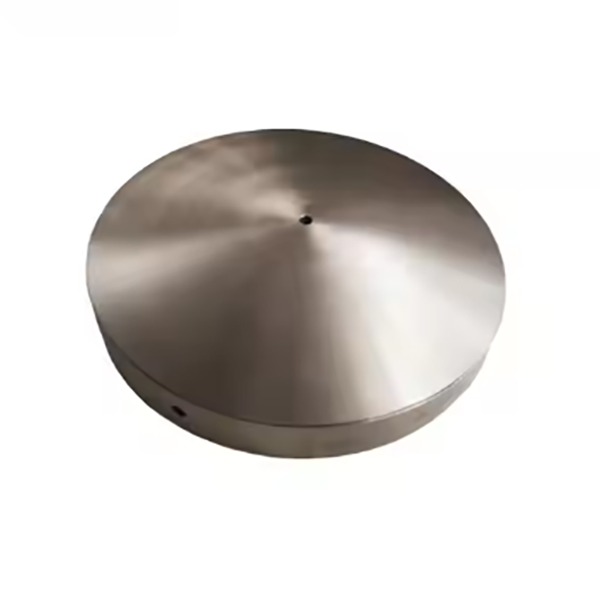
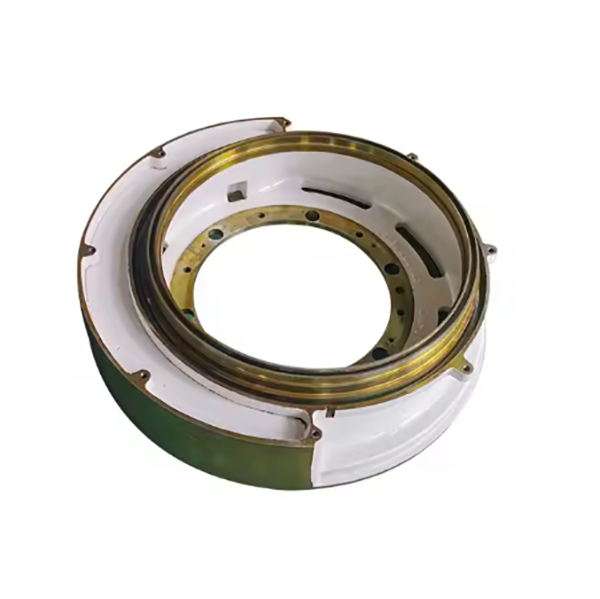
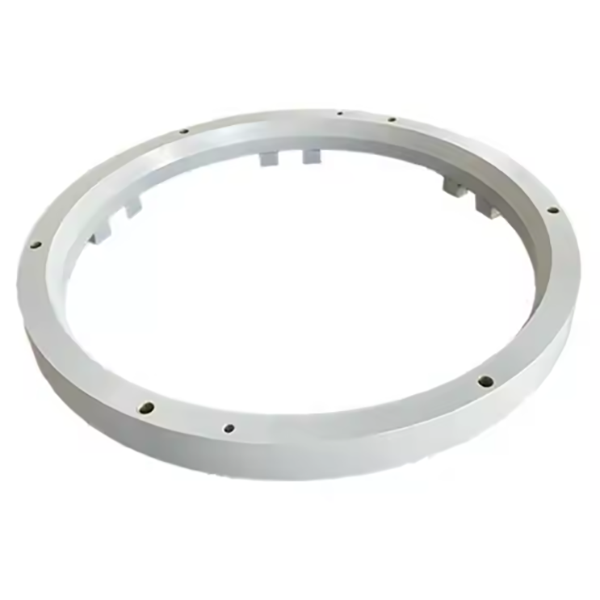
The cone crusher step plate (main shaft step plate) is a key load-bearing and structural component, primarily responsible for axial load transmission (handling several tons in medium-sized crushers), positioning/guiding the main shaft and moving cone, and providing mechanical support to reduce vibration. Structurally, it is a disc-shaped part made of high-strength alloy steel (40CrNiMoA/35CrMo) with a 30–80 mm thickness. It features a central hole (±0.05 mm tolerance) for main shaft fit, step features (10–30 mm height, 20–50 mm width) interacting with thrust bearings, and 8–24 mounting holes for high-strength bolts (grade 8.8+). Manufacturing involves: Casting: Alloy steel melting (1500–1550°C), sand mold casting, followed by normalization (850–900°C) and quenching-tempering (820–860°C quenching, 500–600°C tempering). Machining: Rough turning (2–3 mm allowance), precision grinding (Ra0.8–1.6 μm surface finish, ±0.02 mm dimensional tolerance), and drilling/tapping (±0.1 mm positional tolerance for holes). Surface treatment: Shot-blasting and anti-rust coating (80–120 μm). Quality control includes material testing (chemical composition, tensile strength ≥980 MPa for 40CrNiMoA), dimensional inspection (CMM and gauges), NDT (ultrasonic/magnetic particle testing for defects), and assembly/performance validation to ensure fit and stability
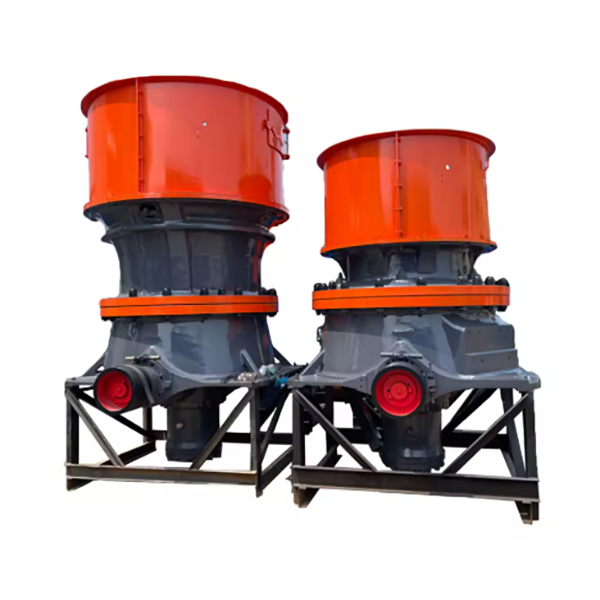
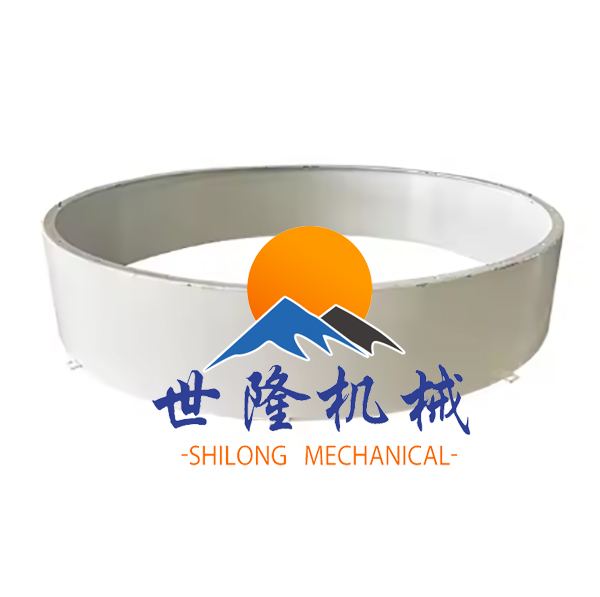
The cone crusher counterweight guard, a protective and structural component surrounding the counterweight and eccentric bushing, functions as a safety barrier against rotating parts (500–1500 rpm), blocks contaminants, reinforces stability, and reduces noise. Structurally, it consists of a 4–8 mm thick annular body (Q235/Q355B steel or HT250 cast iron), mounting flanges with bolt holes, 1–2 access doors, reinforcement ribs, ventilation slots, lifting lugs, and an 80–120 μm corrosion-resistant coating. Manufactured via steel plate welding (plasma cutting, rolling, MIG welding) or sand casting (1380–1420°C pouring) with annealing, it undergoes CNC machining for flange flatness (≤0.5 mm/m) and surface finishing. Quality control includes material testing, weld inspection (DPT), impact testing, dust tightness checks (0.1 MPa pressure), and safety validation (ISO 13857 compliance). This ensures reliable protection and durability in mining/aggregate operations
The cone crusher head ball, a critical pivot component atop the moving cone, supports axial crushing loads (tens of thousands of kN), guides eccentric rotation (5–20 mm amplitude), reduces wear, and maintains alignment between the moving cone and concave. Structurally, it features a hemispherical/spherical head (radius 50–300 mm) of GCr15/42CrMo with a 2–5 mm hardened layer (HRC 58–62), a shaft neck, transition fillet (radius 10–30 mm), and lubrication groove. Manufactured via closed-die forging (1100–1200°C) or investment casting, it undergoes quenching/tempering (core HRC 25–35) and induction hardening. Precision machining (CNC grinding) achieves Ra0.1–0.4 μm surface roughness and ≤0.01 mm spherical tolerance. Quality control includes material spectrometry, hardness testing, UT/MPT for defects, and fatigue testing (10⁶ cycles). It ensures reliable performance in mining/aggregate processing with compressive strength ≥2000 MPa and minimal wear (≤0.1 mg loss/10⁴ cycles).
The cone crusher counter weight, a key dynamic balancing component mounted on the eccentric bushing, offsets centrifugal forces from eccentric rotation, reducing vibration, enhancing stability (500–1500 rpm), optimizing energy use, and balancing frame loads. Structurally, it comprises a high-density (7.0–7.8 g/cm³) body (HT350/QT600-3), 2–6 annular segments, bolt holes (class 8.8+), locating pins, balancing tabs, and reinforcement ribs, with a corrosion-resistant coating. Manufactured via sand casting (1350–1380°C pouring), it undergoes annealing (550–600°C) and precision machining (CNC turning/grinding) for dimensional accuracy. Quality control includes material testing (density ≥7.0 g/cm³), NDT (UT/MPT), dynamic balancing (≤5 g·mm/kg residual imbalance), and load testing (150% rated force). This ensures reliable operation in mining/aggregate processing by minimizing stress and extending component life.
The cone crusher adapter ring, a key component between the main shaft and moving cone, transmits torque and axial loads, compensates for minor misalignment, protects high-cost parts, and eases assembly. It operates under high torque and cyclic loads, demanding strength and precision. Structurally, it features a tapered alloy steel (40CrNiMoA or 45#) body with a precision inner taper (1:10 to 1:20), outer threads/flange, keyway, lubrication grooves, and a positioning shoulder. Manufacturing involves forging (heating to 1150–1200°C, upsetting/piercing) or casting, followed by quenching/tempering (HRC 28–35). Machining includes precision grinding of the taper (Ra0.8 μm) and threading. Quality control covers material testing (composition, tensile/impact strength), dimensional checks (CMM, taper gauge), NDT (UT, MPT), torque/fatigue testing, and assembly validation. These ensure reliable performance in torque/load transmission for efficient crusher operation.
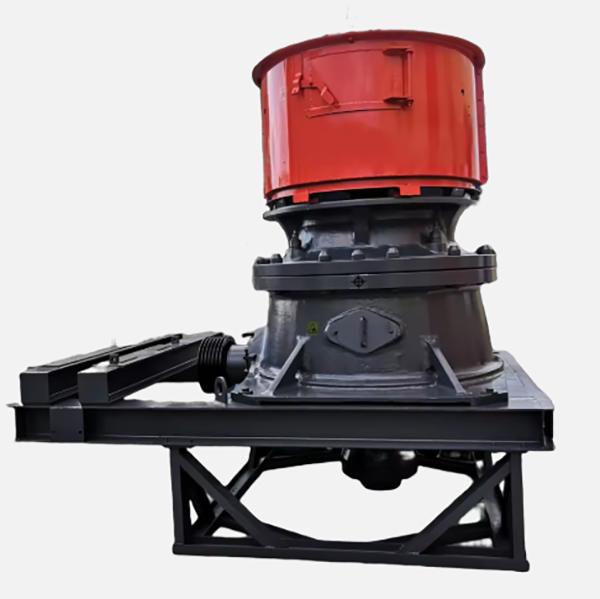
The cone crusher dust shell, a protective component at the crusher's upper part, prevents dust, debris, and moisture from entering internal parts (e.g., adjustment gear, thrust bearing), enhances safety by blocking access to moving components, and reduces noise. It operates in harsh, dusty environments, requiring durability and a tight seal. Structurally, it includes a thin-walled shell body (mild steel, stainless steel, or cast iron), upper/lower flanges with seals, reinforcement ribs, inspection doors, optional ventilation holes, and lifting lugs. Manufacturing processes vary by material: mild/stainless steel shells undergo cutting, rolling, welding, and finishing; cast iron shells use sand casting and heat treatment. Machining focuses on flange flatness and seal surfaces, with surface treatments like painting or passivation. Quality control involves material testing, dimensional checks, structural integrity tests (weld inspection, pressure testing), functional tests (seal performance, impact resistance), and assembly validation. These ensure the dust shell reliably protects internal components, supporting the crusher's efficient operation