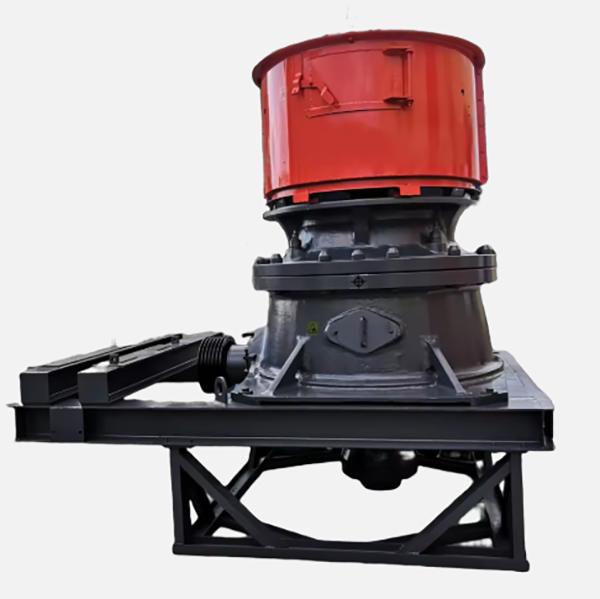
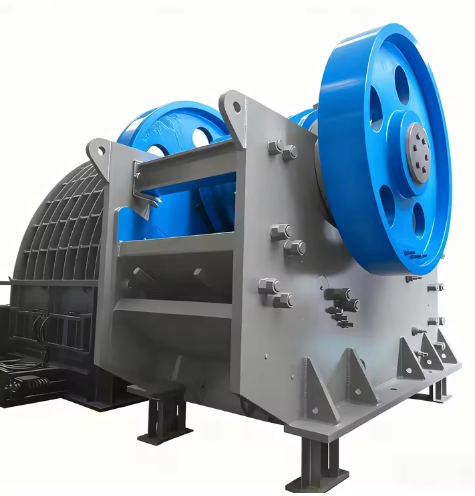
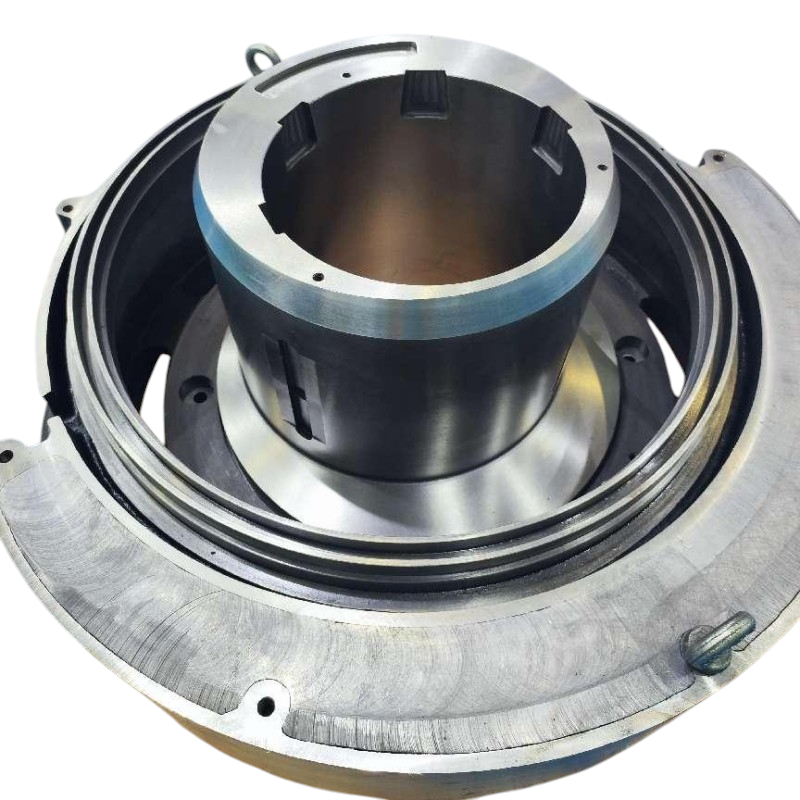
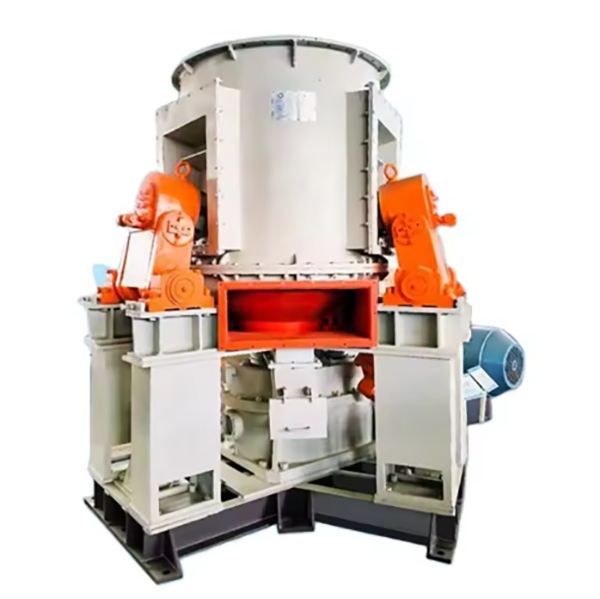
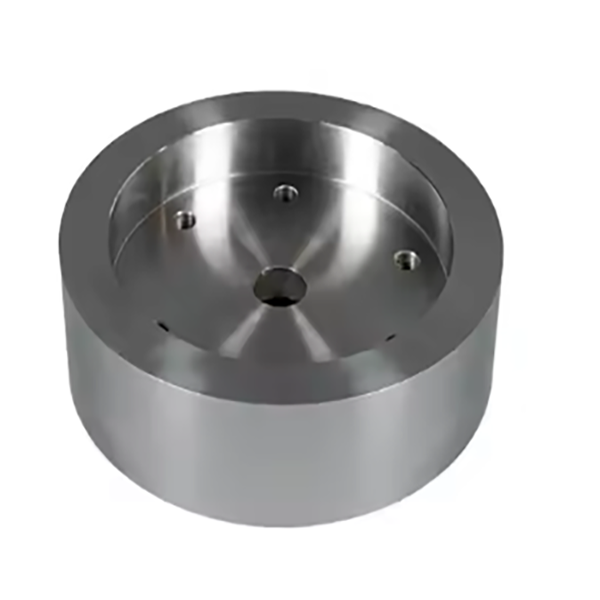
The cone crusher socket, a key component at the moving cone's bottom, functions as a pivot for the main shaft, transmits loads to the frame, facilitates lubrication, and maintains alignment. It operates under high loads, requiring strength, wear resistance, and precision. Structurally, it includes a high-strength alloy steel (42CrMo) body, a precision bearing cavity, eccentric bushing interface, lubrication channels, a mounting flange, and locating pins, with optional wear-resistant inserts. Manufacturing involves sand casting (pattern making, molding, melting/pouring), heat treatment (quenching/tempering, local hardening), and machining (precision boring, flange processing, channel drilling). Quality control covers material testing (composition, mechanics), dimensional checks (CMM, roundness testing), NDT (UT, MPT), mechanical tests (hardness, compression), and functional trials. These ensure it supports stable crusher operation in mining and aggregate processing.
The cone crusher eccentric bushing, a core rotating component around the main shaft, is crucial for driving the crushing motion. Its main functions are generating eccentric motion (converting rotational motion into orbital movement of the main shaft and moving cone), transmitting torque, bearing loads (up to thousands of kilonewtons), and serving as a lubrication channel. Structurally, it is a cylindrical or conical sleeve with an offset inner bore, consisting of components such as the bushing body (high-strength alloy steel or cast steel like 42CrMo or ZG42CrMo), eccentric bore (with 5–20 mm offset), gear teeth (involute profile, modulus 10–25), lubrication passages, flange/shoulder, and wear-resistant liner (bronze or babbitt metal). For large bushings (outer diameter >500 mm), the casting process involves material selection (ZG42CrMo), pattern making (with shrinkage allowances), molding (resin-bonded sand mold), melting and pouring (controlled temperature and flow rate), cooling and shakeout, and heat treatment (normalization and tempering). The machining process includes rough machining, gear machining, heat treatment for hardening (induction-hardened gear teeth to HRC 50–55), finish machining (grinding to AGMA 6–7 accuracy), installation of wear-resistant liner, and balancing. Quality control covers material testing (chemical composition and mechanical properties), dimensional checks (CMM and laser tracker for eccentricity and concentricity), hardness and microstructure testing, non-destructive testing (UT and MPT), and performance testing (rotational and load tests). These ensure the eccentric bushing meets precision and durability requirements for efficient cone crusher operation in heavy-duty applications
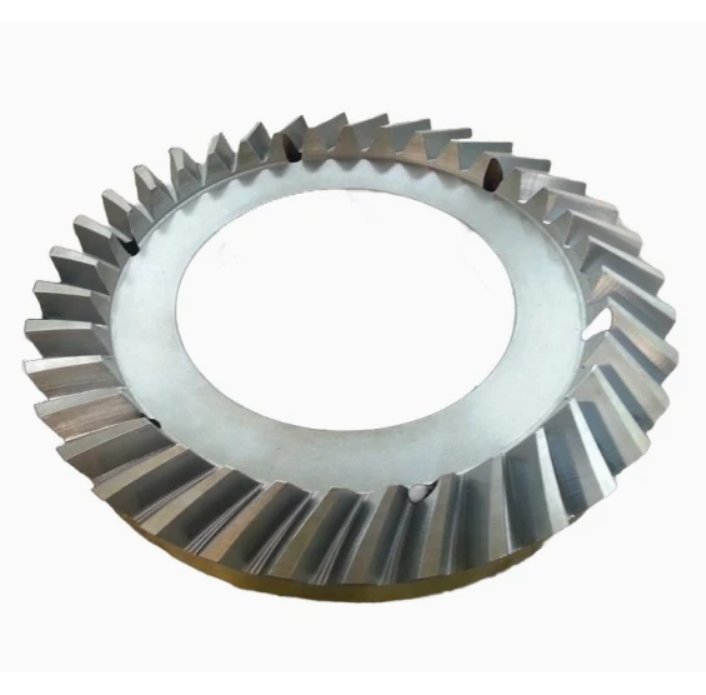
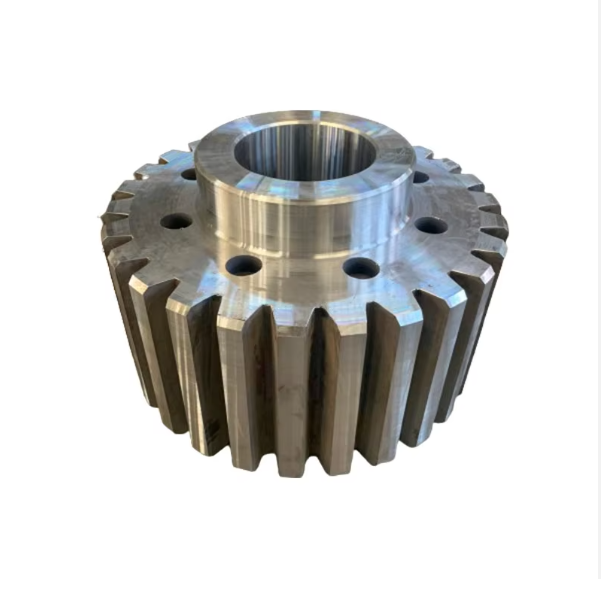
This paper provides a detailed account of the cone crusher gear, a core transmission component that transfers motor power to the eccentric shaft, driving the moving cone's oscillation. It fulfills key roles in power transmission, speed regulation, and torque amplification, requiring high strength, wear resistance, and precision. The gear's composition and structure are outlined, including the gear body (alloy steel, solid or hollow), teeth (involute profile with specific parameters), bore/shaft connection, hub/flange, lubrication grooves, and webs/ribs for large gears. For large bull gears, the casting process is detailed: material selection (ZG42CrMo), pattern making, molding, melting, pouring, cooling, and heat treatment. The machining process covers rough machining, tooth cutting (hobbing or shaping), hardening heat treatment (carburizing, quenching, tempering), finish machining (grinding), and deburring. Quality control measures include material testing (chemical analysis, tensile and impact tests), dimensional checks (CMM, gear measuring center), hardness and microstructure testing, dynamic performance testing (mesh and load tests), and non-destructive testing (MPT, UT). These ensure the gear meets precision, strength, and durability requirements, guaranteeing reliable operation in heavy-duty crushing scenarios.
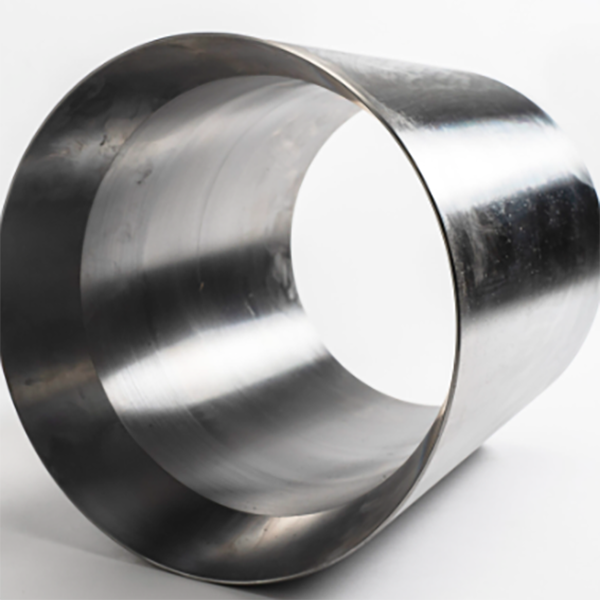
This paper details the main shaft sleeve of cone crushers, a crucial component positioned between the main shaft and the eccentric assembly. It primarily functions in radial support, friction reduction, load distribution, and lubrication retention. The component consists of the sleeve body, inner bore, outer surface, lubrication channels, flange (in some designs), and wear indicator grooves, each with specific structural features. The casting process for the bronze sleeve body is elaborated, including material selection (phosphor bronze), pattern making, molding, melting, pouring, heat treatment, and inspection. The machining and manufacturing process is also described, covering rough/finish machining, surface treatment, and assembly preparation. Additionally, quality control measures are specified, such as material validation, dimensional accuracy checks, surface quality inspection, functional testing, and wear resistance testing. These processes ensure the main shaft sleeve provides reliable support and friction reduction, enhancing the cone crusher’s efficiency and service life under heavy loads.
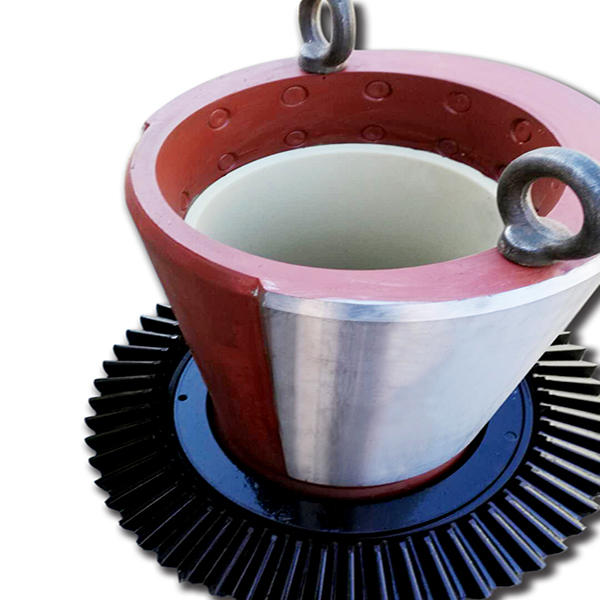
The cone crusher adjustment gear, a key part of the gap adjustment system, modifies the crushing gap between mantle and concave to control product size. Its functions include gap adjustment (converting rotation to vertical bowl movement), torque transmission, locking adjusted positions, and load distribution, requiring high strength and precise tooth geometry. Structurally, it is a ring-shaped component with a gear ring body (high-strength cast steel ZG42CrMo), external/internal teeth (module 8–20), mounting flange, optional threaded interface, lubrication channels, and locking features. Manufacturing involves sand casting (material selection, pattern making, molding, melting/pouring, heat treatment), machining (rough machining, tooth machining, thread/flange processing, drilling lubrication channels), and surface treatment (tooth carburizing, epoxy coating). Quality control includes material testing (composition, tensile strength), dimensional checks (CMM, gear measuring center), structural testing (UT, MPT), mechanical performance testing (hardness, load tests), and functional testing. These ensure reliable, precise gap adjustments for consistent cone crusher operation