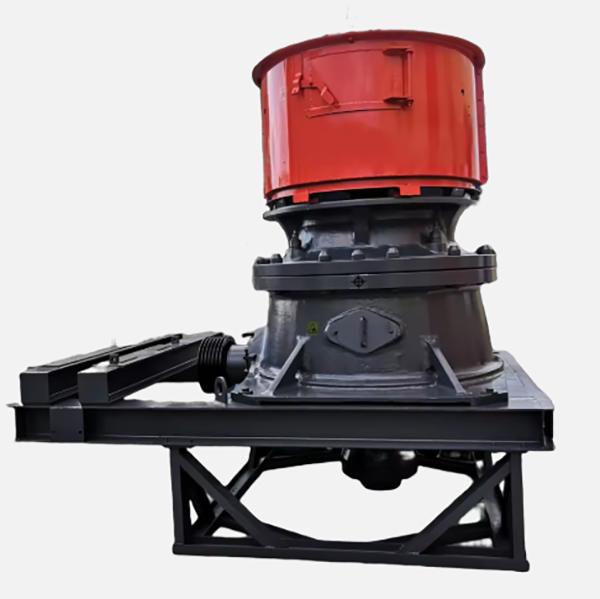
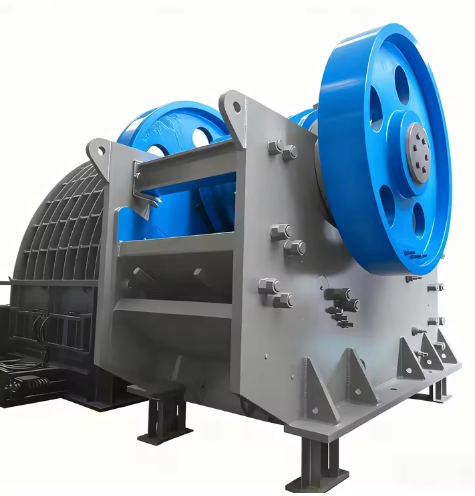
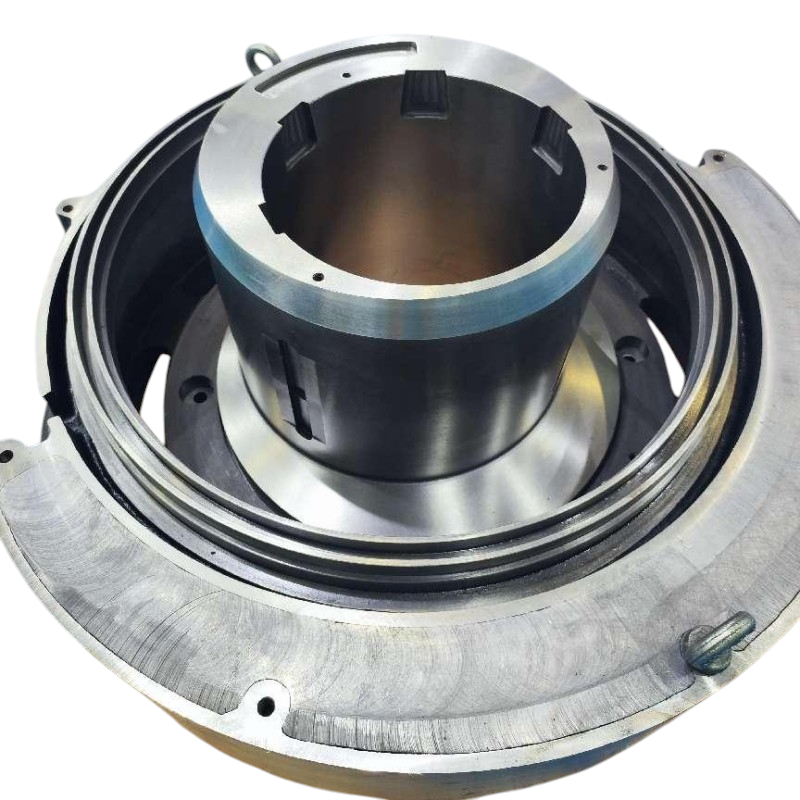
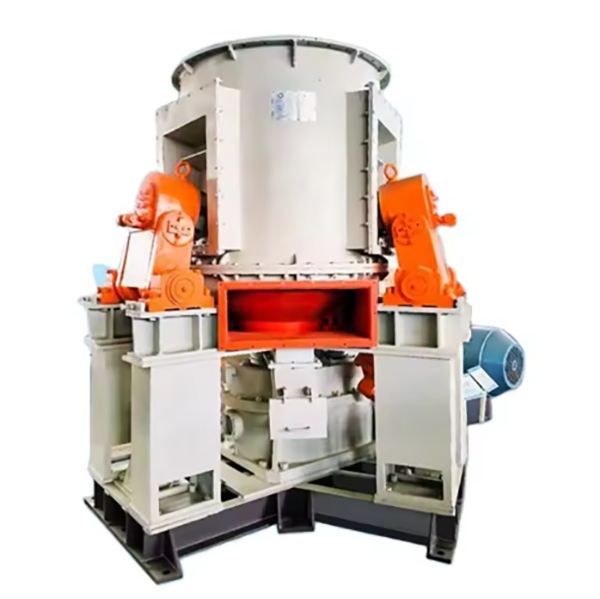
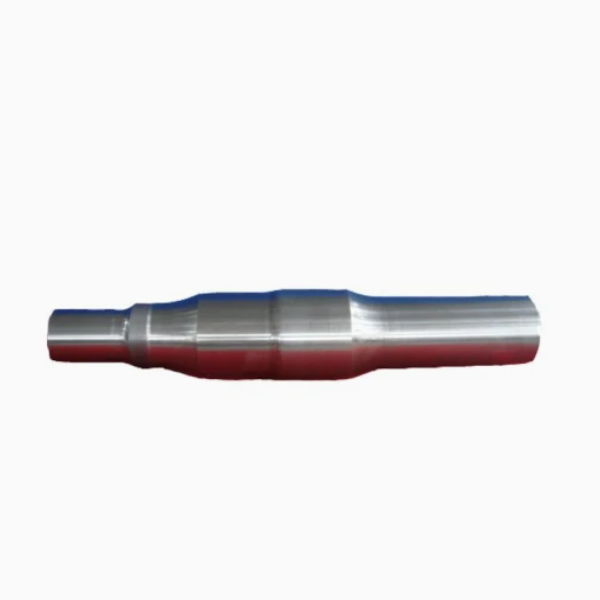
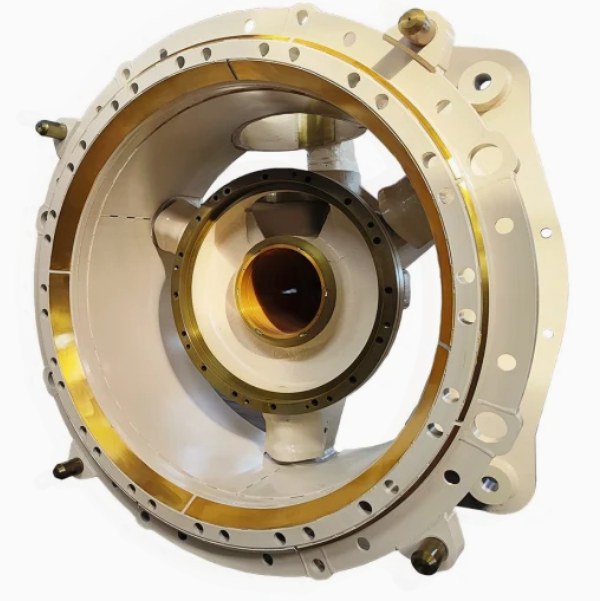
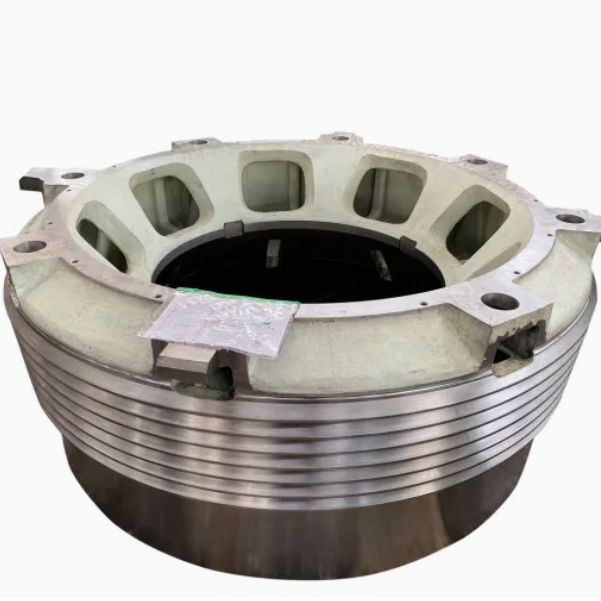
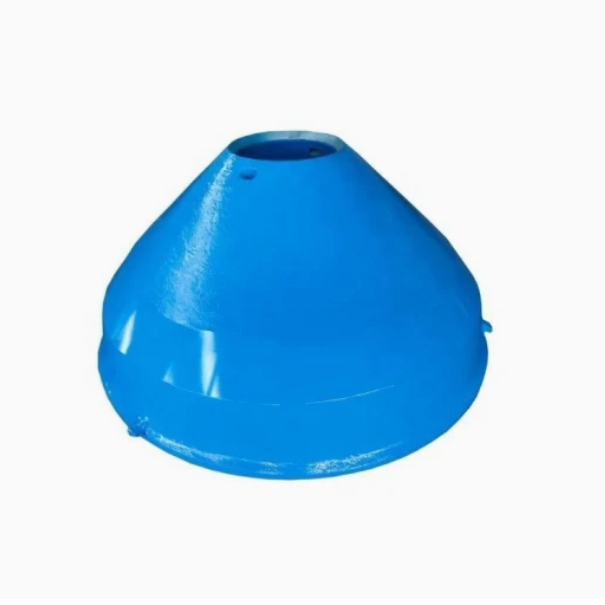
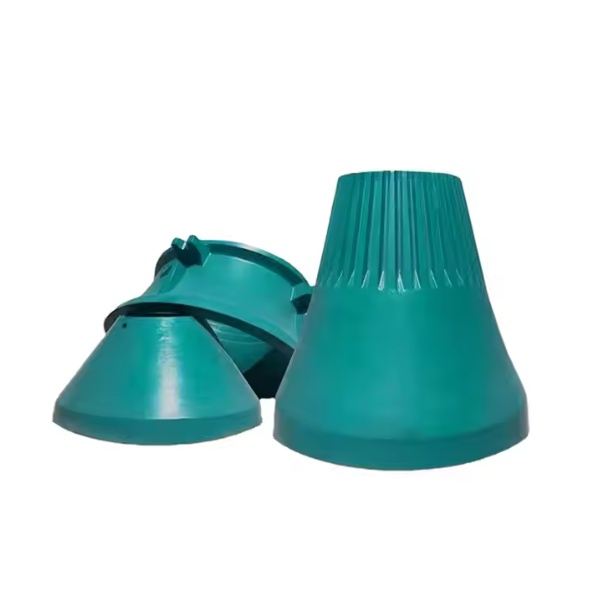
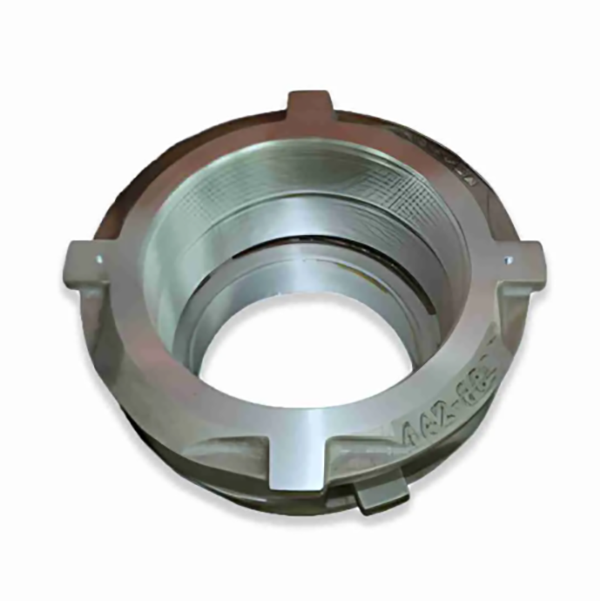
The cone crusher bowl, also known as the fixed cone housing or concave frame, is a key structural component forming the stationary outer shell of the crushing chamber. Positioned above the eccentric bushing and surrounding the mantle, its main functions include providing structural support for the bowl liner, forming the crushing chamber with the mantle, distributing loads to the base frame, and containing materials to ensure efficient flow. It requires high mechanical strength, rigidity, and dimensional accuracy, typically made of high-strength cast steel or welded steel plates. Structurally, it is a large conical or cylindrical-frustoconical component with a hollow interior, consisting of the bowl body (high-strength cast steel like ZG35CrMo), bowl liner mounting interface (dovetail grooves, clamping flange), adjustment mechanism interface (threaded outer surface, guide slots), reinforcing ribs, discharge opening, and lubrication/inspection ports. The casting process for the bowl involves material selection (ZG35CrMo), pattern making (with shrinkage allowances), molding (resin-bonded sand mold), melting and pouring (controlled temperature and flow rate), and cooling with heat treatment (normalization and tempering). Its machining process includes rough machining, thread and guide feature machining, inner surface and mounting interface machining, flange and bolt hole machining, and surface treatment. Quality control processes cover material testing (chemical composition and tensile strength), dimensional accuracy checks (CMM and laser scanner), structural integrity testing (ultrasonic and magnetic particle testing), mechanical performance testing (hardness and load testing), and assembly/functional testing. These ensure the bowl has the required structural strength, precision, and reliability to withstand extreme crushing forces, enabling efficient long-term operation in mining and aggregate processing.
The cone crusher mantle, also known as the moving cone liner, is a critical wear-resistant component mounted on the outer surface of the moving cone, forming the rotating part of the crushing chamber. Its main functions include active crushing (rotating eccentrically with the bowl liner to reduce materials), wear protection (shielding the moving cone), material flow control (guiding materials through the crushing chamber via its tapered profile), and force distribution (ensuring even force distribution to minimize localized wear). It requires exceptional wear resistance (hardness ≥HRC 60), impact toughness (≥12 J/cm²), and dimensional stability. Structurally, it is a conical or frustoconical component consisting of the mantle body (high-chromium cast iron like Cr20–Cr26 or nickel-hard cast iron), outer wear profile (with 15°–30° taper angle, ribbed/grooved surfaces, and smooth transition zones), mounting features (conical inner surface, bolt flange, locking nut interface, locating keys), reinforcement ribs, and chamfered/rounded edges. The casting process involves material selection (high-chromium cast iron Cr20Mo3), pattern making (with shrinkage allowances), molding (resin-bonded sand mold), melting and pouring (controlled temperature and flow rate), and heat treatment (solution annealing and austempering). The machining process includes rough machining, precision machining of the inner surface, mounting feature machining, outer profile finishing, and surface treatment. Quality control covers material testing (chemical composition and metallographic analysis), mechanical property testing (hardness and impact testing), dimensional accuracy checks (using CMM and laser scanner), non-destructive testing (ultrasonic and magnetic particle testing), and wear performance validation (accelerated testing and field trials). These ensure the mantle achieves the required wear resistance, precision, and durability for efficient cone crusher operation in mining, quarrying, and aggregate processing
The cone crusher bowl liner, also known as the fixed cone liner or concave liner, is a wear-resistant component mounted on the inner surface of the upper frame or bowl, forming the stationary part of the crushing chamber. Its main functions include material crushing (cooperating with the moving cone liner to reduce materials), wear protection (shielding the upper frame), material guidance (ensuring uniform material distribution via its inner profile), and product size control (influencing particle size distribution through its inner profile). It requires exceptional wear resistance, impact toughness, and structural integrity, with a service life of 500–2000 hours depending on material hardness. Structurally, it is a conical or frustoconical component consisting of the liner body (high-chromium cast iron like Cr20–Cr26 or martensitic steel), inner wear profile (with parallel sections, stepped/grooved surfaces, and a 15°–30° taper angle), mounting features (dovetail grooves, bolt holes, locating pins), reinforcement ribs, and a top flange. The casting process of the bowl liner involves material selection (high-chromium cast iron Cr20Mo3), pattern making (with shrinkage allowances), molding (resin-bonded sand mold), melting and pouring (controlled temperature and flow rate), cooling and shakeout, and heat treatment (solution annealing and austempering). Its machining and manufacturing process includes rough machining, mounting feature machining, inner profile machining, and surface treatment. Quality control processes cover material testing (chemical composition and metallographic analysis), mechanical property testing (hardness and impact testing), dimensional accuracy checks (using CMM and laser scanner), non-destructive testing (ultrasonic and magnetic particle testing), and wear performance testing. These processes ensure the bowl liner has the required wear resistance, precision, and durabil
The cone crusher main shaft nut, a critical fastener at the top or bottom of the main shaft, secures components like the main shaft bearing, eccentric bushing, and moving cone. Its primary functions include axial fixation (preventing displacement from vibration and loads), load transfer (distributing axial loads up to hundreds of kilonewtons), bearing preload adjustment, and contamination prevention. Structurally, it is a large heavy-duty fastener with a cylindrical or hexagonal profile, consisting of the nut body (high-strength alloy steel 42CrMo/35CrMo or cast steel ZG35CrMo), internal threads (class 6H tolerance, M30–M100 coarse-pitch), locking mechanisms (locking slots, tapered interface, set screw holes), torque application surface, seal groove, and shoulder/flange. For large nuts (outer diameter >300 mm), the casting process involves material selection (ZG35CrMo), pattern making (with shrinkage allowances), molding (green sand or resin-bonded sand), melting and pouring (controlled temperature and flow), cooling and shakeout, and heat treatment (normalization and tempering). The machining process includes rough machining, thread machining, locking feature machining, heat treatment for hardening (induction-hardened threads to HRC 45–50), finish machining, and surface treatment. Quality control covers material testing (chemical composition and hardness), dimensional checks (CMM and thread gauges), structural integrity testing (MPT and UT), functional testing (torque and vibration tests), and seal performance testing. These ensure the main shaft nut provides reliable fixation, enabling stable cone crusher operation under heavy loads and high vibrations
The cone crusher eccentric bushing, a core rotating component around the main shaft, is crucial for driving the crushing motion. Its main functions are generating eccentric motion (converting rotational motion into orbital movement of the main shaft and moving cone), transmitting torque, bearing loads (up to thousands of kilonewtons), and serving as a lubrication channel. Structurally, it is a cylindrical or conical sleeve with an offset inner bore, consisting of components such as the bushing body (high-strength alloy steel or cast steel like 42CrMo or ZG42CrMo), eccentric bore (with 5–20 mm offset), gear teeth (involute profile, modulus 10–25), lubrication passages, flange/shoulder, and wear-resistant liner (bronze or babbitt metal). For large bushings (outer diameter >500 mm), the casting process involves material selection (ZG42CrMo), pattern making (with shrinkage allowances), molding (resin-bonded sand mold), melting and pouring (controlled temperature and flow rate), cooling and shakeout, and heat treatment (normalization and tempering). The machining process includes rough machining, gear machining, heat treatment for hardening (induction-hardened gear teeth to HRC 50–55), finish machining (grinding to AGMA 6–7 accuracy), installation of wear-resistant liner, and balancing. Quality control covers material testing (chemical composition and mechanical properties), dimensional checks (CMM and laser tracker for eccentricity and concentricity), hardness and microstructure testing, non-destructive testing (UT and MPT), and performance testing (rotational and load tests). These ensure the eccentric bushing meets precision and durability requirements for efficient cone crusher operation in heavy-duty applications
The cone crusher adjustment cap is a key component in the crusher's gap adjustment system, mounted on top of the adjustment ring or upper frame. Its main functions include controlling the crushing gap (enabling precise adjustment of the distance between the moving and fixed cones), locking components (securing the adjustment ring after adjustment), distributing loads, and supporting seals. Structurally, it is a cylindrical or conical component consisting of the cap body (made of high-strength cast steel like ZG310–570 or forged steel), threaded bore or external threads, locking mechanisms (such as locking slots, set screw holes, and tapered interfaces), top flange, seal grooves, reinforcing ribs, and indicator marks. The casting process for medium to large adjustment caps involves material selection, pattern making (with shrinkage allowances and draft angles), molding (using sand molds), melting and pouring (with controlled temperatures and flow rates), cooling and shakeout, and heat treatment (normalization and tempering). The machining and manufacturing process includes rough machining, thread machining, locking feature machining, finish machining, surface treatment, and assembly of seals. Quality control processes cover material validation (chemical composition and hardness testing), dimensional accuracy checks (using CMM and thread gauges), structural integrity testing (NDT like MPT and UT), functional testing (adjustment range and locking effectiveness verification), and seal performance testing. These ensure the adjustment cap has the required precision, strength, and reliability for consistent crushing gap control, guaranteeing optimal crusher performanc